Tuesday, October 29, 2013

Scotty

Hello all!

Finally I'm able to share with you the bit of experimental animation I've been working on (in between work, other projects and the general craziness that is life.)  As I've mentioned before, I wanted to try and find a middle ground between stop motion animation and my newfound love of After Effects.  That led me to create this short, called "Scotty" as it involves a sound clip of Scotty from Star Trek.


Scotty from Nicole Van Luvender on Vimeo.

This short was a lot of fun to make.  Let me take you on a little tour of my creative process:

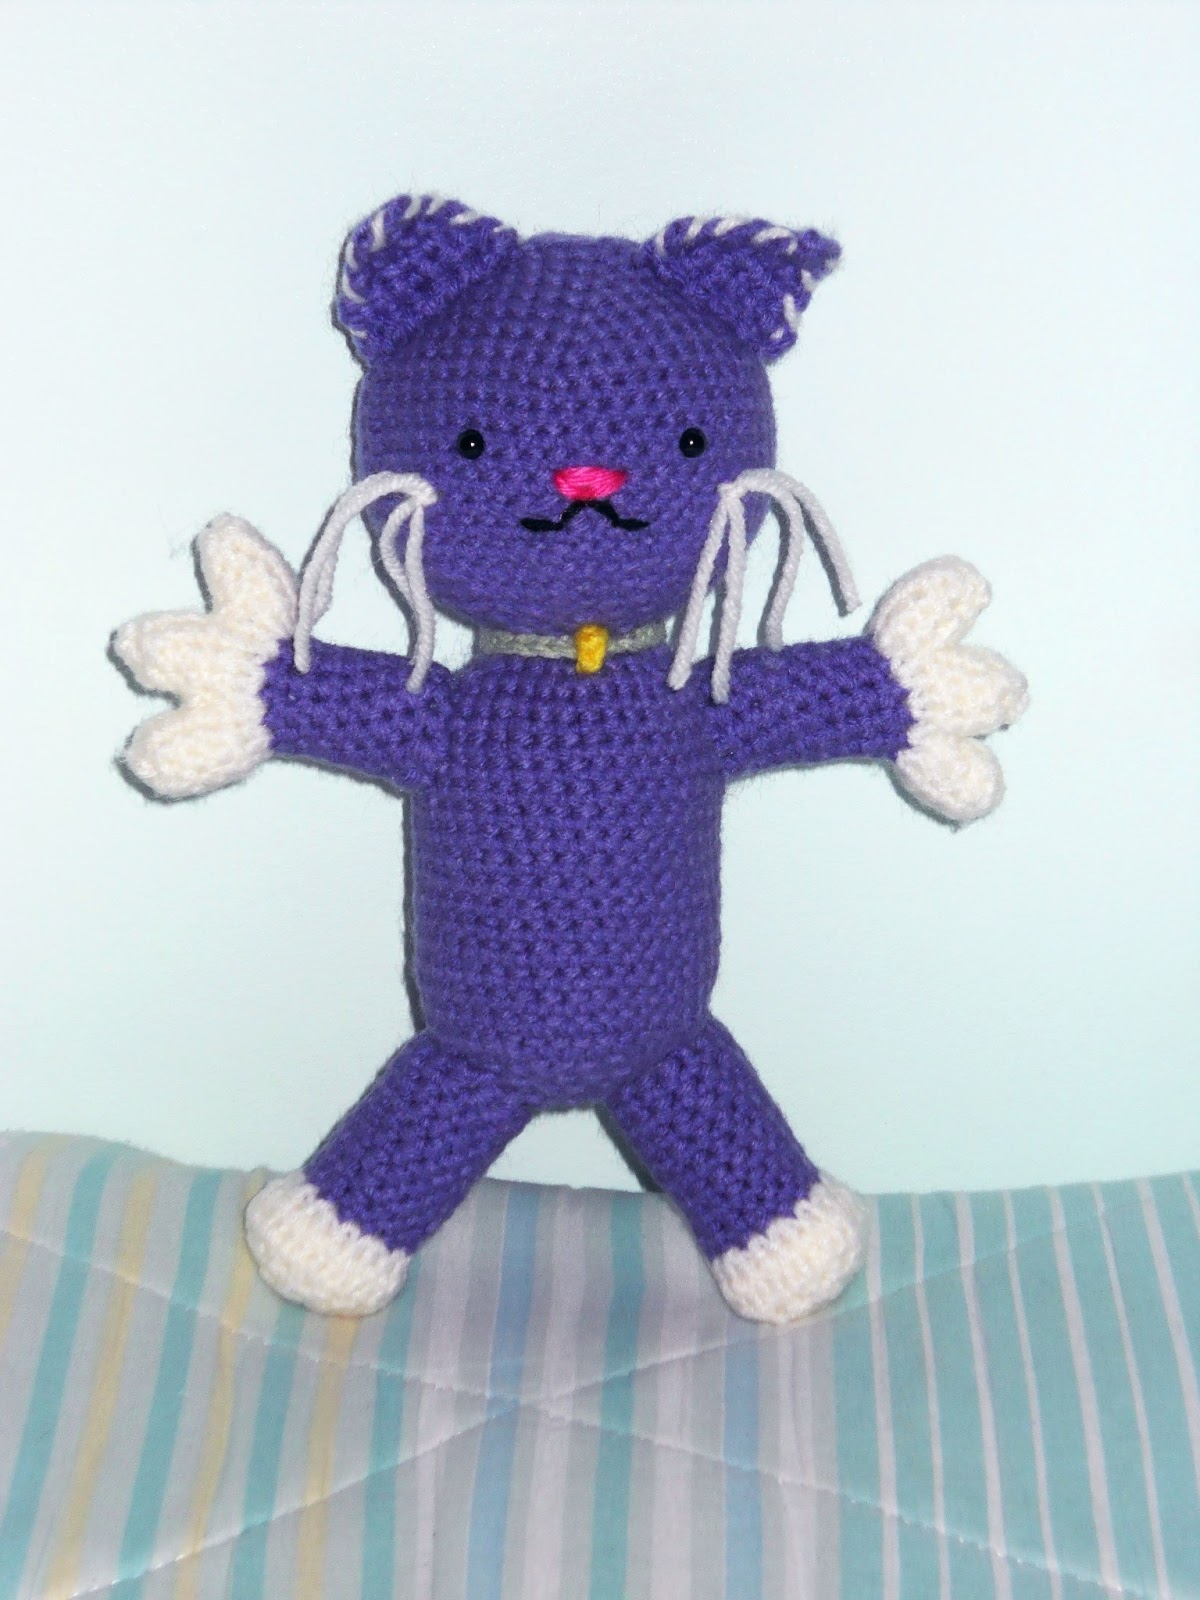
I started out by crocheting the head.  I stuffed it lightly to give it shape, but never fully closed the bottom.  Then I started on a hand (I only made one) which I sculpted out of wire and then crocheted the skin. 

I tried and tried to get proper lighting in my room, but it just wasn't going to happen. And so, since it was an absolutely lovely day, I MacGyvered my own little studio outside. 

Working on the head rotations

Working on hand movements
 Yes, my "studio" consisted of a T.V. tray with a bottle of body spray taped to it and a roll of tape which I used as a base to hold up the hand.  Fancy?  No. But it worked!

I then proceeded back inside to Photoshop the body pieces out of their environment.

Head floating in space

I uploaded my various head images and created a custom rig in After Effects so that I could freely animate it within the program.  The head had two rigs -- one to move between the different images, and the other (a simple Null) to move the head along the screen.  I repeated this process for the hands (though I only had to upload the images once).  I made a series of mouth images in Flash and proceeded to make a rig for that as well.  The body was constructed in Photoshop and manipulated using the Pin Tool.  Throw in a bit of lighting and here's my workspace:


My animation workspace.  The top box is the mouth rig, the blue boxes are for the hands, and the bottom red box is for the head. Each element also had a null layer for movement.

There you have it:  the making of "Scotty."  This was definitely a learning experience and I look forward to pushing myself even further in the future. 

Wednesday, September 4, 2013

Stop Motion Rig Test #1

I love the idea of stop motion.  The look and feel of it, the hands-on approach.  But I've found it rather tricky to do as a team of one person without the space for a set that could stay up for an indefinite period of time.  And trying to fit things around my work schedule -- well, if you've ever worked retail you know it isn't exactly a 9-5 gig, so getting the same lighting each day would be an issue all its own.

But I still wanted to try, and so I've been figuring out a way to combine the look of stop motion with the ease and convenience of After Effects.  I found a lip sync tutorial online (Thank you again, Creative Cow), and used it to create a custom rig that would allow me to animate my stop motion images inside of After Effects. 

The following videos show my tests animating a moving head -- its vertical rotation (nodding), horizontal rotation, and ear movement. I'm finally able to combine my love of crochet with my love of animation! 

There are several visual issues with the tests, that being that the lighting is inconsistent and the 'set' itself is very primitive (yes, that is a bottle of body spray holding up the head)  but seeing as though my main focus was to test out the effectiveness of the rig and not create a finished piece, I'd say it was a great success!

I've posted below two versions of each test: One showing the rig and how it functions during the animation process, and the second to show the 'finished' product, without the rig.


head nod test with visible rig from Nicole Van Luvender on Vimeo.


The great thing about the rig is that it greatly simplifies the timeline in After Effects, so that instead of working with picture after picture, you have one controller that effects them all. And if you turn the components of the rig into Guide Layers, you won't see them when you render.


  head nod test no rig from Nicole Van Luvender on Vimeo.

head turn and ears test with visible rig from Nicole Van Luvender on Vimeo.

head turn and ears test no rig from Nicole Van Luvender on Vimeo.

(In case you were wondering, the "L,S,R" of the top rig stands for "Left, Straight, Right," while the "O,M,I" of the bottom rig stands for "Out, Middle, In.")

My next step is to create a hand and do some tests with that.  My goal is to create all the various body parts of a character and animate everything in After Effects. Wish me luck!

Sunday, August 25, 2013

Colts Football

 
I don't know anything about football.  I mean, I know the basics and key words like "Touchdown"and "50 yard line," but the rest of the time when the announcer is speaking all I hear is the teacher from Charlie Brown (You know, the one that goes "waa-whaah-wwah-wha-waaa.")

My little cousin, however, LOVES football and asked me to make him one with his favorite team's logo on it.  That was the inspiration behind this Colts Football.


Had some difficulty in the beginning (this was attempt number three) which is odd because it seems like such a simple project.  And frankly, now that it's done and I know what to do, it really was a simple project.  It was pretty fun to make too, once I got the hang of it.

I may still know next to nothing about the actual game of football, but I did learn that making them is a pretty fun pastime.

Tuesday, August 20, 2013

Random Wormhole Test

This post is exactly what the title says: it is a random wormhole test. I was actually looking for a tutorial on something completely different (which, as it turns out, doesn't really exist) when I discovered this instead and figured I'd try it out.

The quality isn't that great; apparently vimeo doesn't approve of the composition size specified in the tutorial. Oh well.

Please enjoy it as it has nothing to do with anything.

 
Wormhole test from Nicole Van Luvender on Vimeo.

Sunday, July 28, 2013

The Kimmy Torch

I found another interesting tutorial on Creative Cow, this one showing how to turn someone into the Human Torch. I decided to try it out on Kimmy.


The Kimmy Torch from Nicole Van Luvender on Vimeo.

 The hardest part (though not so much difficult as it was time consuming) was animating the mask that followed her movement (and contained the flame).  Then I had to troubleshoot certain areas where the flame decided it didn't want to go.  Through a bit of trial and error, I was able to branch away from the tutorial and get the effect to do what I wanted it to.

Many thanks to my furry actress.

Wednesday, July 17, 2013

Particle World Transitions

I was trying to watch a movie on my computer and couldn't get it to load, so instead I decided to teach myself a little about particle transitions. This is based on a tutorial I found on creativecow.net and involves the word "Text" transforming into sand, dust, smoke, fire, and water (although the water looks a bit more like candle wax.)

If anyone else would like to give it a try, you can find the tutorial here:
Particle World Transitions - Part 1

I really enjoyed my first venture into visual effects. I'm finding it to have the technical side of rigging, which I enjoy, but without the inevitable explosion of rage. Time for more tutorials!


Particle Transitions from Nicole Van Luvender on Vimeo.

Sunday, July 14, 2013

Frankenstein Dance Party

A while back I was watching a documentary on the real-life science of Mary Shelley's "Frankenstein." It was really fascinating (and at times, rather gruesome) to see how scientists really were attempting things like that. And so I was inspired to make a short about it with my own special twist -- a little less gruesomeness and a little more dance party.

This AE short finally has color and sound! Woo! Enjoy!


Frankenstein Dance Party from Nicole Van Luvender on Vimeo.

Friday, May 24, 2013

Superior Spider-Man


This was a special request from my brother-in-law: Superior Spider-Man.  Spidey here was my trickiest amigurumi so far 1.) because his torso and arms aren't done in perfect rounds and 2.) because I had to figure out how to create the shape of his eyes, along with two spiders (front and back).  Then there was the whole being-covered-in-webbing thing.  Though actually, the webbing wasn't hard at all once I laid down a game plan. 


Total work time: approximately 40 hours. 


Monday, April 22, 2013

Eggs


Eggs from Nicole Van Luvender on Vimeo.

More fun with After Effects! I decided to start doing a series of short pieces to help improve my AE skills. This time, instead of a character test (don't worry, Roo will be back!) I made a short about a cannibalistic egg. Originally they were just little orbs, but I figured eggs would be more relatable. Is it weird that that's the point that concerned me?

In my next short I plan on adding color and possibly texture to the scene, along with sound and a little bit of special effects. I've already begun on the character designs, which are more Roo-like in nature. For now I'll call it "Science on a Budget." Stay tuned!

Sunday, April 7, 2013

Roo Character Test

Playing around in After Effects with a character I'm thinking of using in some upcoming shorts.  She's got a nice, simple design so I can spend more time working on my favorite part -- animating! (which, I'm finding, is a lot of fun in AE.)

Oh Roo, you're so zany.


Roo Character Test from Nicole Van Luvender on Vimeo.


Thursday, March 21, 2013

Pocket Zombie

After making the penguin for my coworker, I went on a trip to Walmart to see if they sold the doll joints that I use as safety eyes in my projects.  Well it turns out that no, they don't sell them there.  As I strolled along the craft isles, however, I found this bag of tiny buttons and thought to myself, "I want to make something with these!!!!"  (I think I was the only person in the store to get that excited over buttons.)  I purchased a bag and journeyed home feeling very, very crafty.

At this time I had just completed the game Plants vs. Zombies on the Nintendo DS.  In the game, as your plants shoot peas and other things at the attacking zombies, they steadily lose body parts until they are defeated.  This inspired me to create a tiny pocket-sized zombie with detachable skin.
Without Skin


With Skin

I crocheted tiny pants and an exposed heart to finish off the piece.  The detachable skin is connected to the rest of the arm by a small piece of yarn so that it cannot be misplaced.

Cutest Zombie Ever
Pocket Zombies: If the zombie's in your pocket, he's not eating your brains.

Chubby Penguin

Some time ago, my coworker and I got into a conversation about my crochet projects.  She asked if I could make her a penguin and I agreed. I sent her a link to some images on Google that showed what other people had made and told her to pick out what she liked and didn't like. (for example, did she like the chibi style, or something more realistic? Maybe some hints of both?) 

She sent me this picture and said "Make him!!"

Penguin reference found on the internet.

And so I printed the picture and went about trying to recreate this chubby little bundle of fun. This is what I came up with:

My Penguin.  Success!!

   It was fun trying to figure out how someone else created their work.  I never saw their actual pattern (I don't even know if they posted it anywhere) but I think I got pretty close.  In any case, my friend was thrilled, so that's all that matters!


Thursday, February 21, 2013

What's With All the Crochet Stuff?


Many of you may be wondering,

"Hey Nicole, you're supposed to be an animator.  What's with all this crochet stuff?"
 
That is a valid question, and it is one that I have been asking myself as well for some time now.  No, I have not given up on animation.  In fact, my desire to animate has grown progressively stronger in the last month or so.  There are several reasons why I haven't posted any new shorts on here in a while.

1.) My laptop broke.  Yes, my dear lappy, that has seen me through all of college and grad school, no longer has a functional screen (which is kind of important for seeing things).  So when I DID do art on it, I had to steal a monitor from a different computer and hook it up to my lappy.  Which would be fine (although inconvenient) but all of my memory and space and what-not was pretty much used up anyway from years of art projects and homework soooo.... it was kind of like EVERYTHING worked at dial-up speeds, regardless of if you were even trying to use the internet.  My beloved laptop had served me well for 7 years, but its time had come.

2.) Bye-bye workspace.  Without my lappy I needed to use the kitchen computer which meant the only time I got to work in silence was when I banished my parents to the other end of the house.  (They didn't mind, and even offered to banish themselves, but still.  THE GUILT.)  I hated basically kicking my parents out the house so I could work. I mean, it's THEIR house.  It made it so hard to concentrate.

3.) All of my programs were on my laptop. No programs = no new 2D art.  Yes Maya was on the kitchen computer, but yeah. See Point 2.


Okay, so that explains why there's no animation, but WHY ALL THE YARN?

1.) The first reason is that I love to crochet (which is probably pretty obvious at this point).  It became my way of being creative without the use of technical programs and computers.  I see something, or I sketch something and I make it 3-dimensional. It's like sculpting, with a different type of medium.  I get to think, and problem solve, and in the end I have this physical thing that makes people happy. 

2.) I've been really lost with my animation. Or maybe I should say, without it.  It has been genuinely difficult for me being outside of an artistic environment.  I started questioning myself and what direction I wanted to go in animation-wise.  My focus at SCAD was primarily CG animation using Maya.  But I kept thinking about my Animation Aesthetics and Practice class with Professor Simon and the shorts he showed us by Pes and other non-traditional animators.  Examples of stop-motion and pixilation.  Of people working with their hands to create these fascinating animations.  The question became, do I follow what I know (that being CG Maya animations) or do I listen to that little voice that leads me to the unconventional?

I've discovered that I love to work with my hands.  I know I've mentioned this before, but for the first time I've realized that maybe, just maybe, my love  of crochet could steer me into a career in a different type of animation than I had originally planned.  Why not take these two passions of mine and combine them into something awesome? (Especially since I just got a brand new desktop which I've already begun loading with my art programs.)  Just the thought of this gets me so excited and motivated.  I finally have a goal again and a direction to follow and it feels amazing.

So for now, look at my crochet projects as sketches or tests.  With each one, I learn more about building and designing and shaping this medium. And they lead me to ideas for animations using other mediums as well (I have several very basic storyboards sketched out already).

It's time to break out of the mold.  It's time to do what my heart tells me.  It's time to animate.      

Addy Cat

Addy Cat

 After making Spongebob for Anthony, I knew I had to make something for his litter sister, Addy.  I asked her what her favorite animal was and she said "kitty cat."  I knew her favorite color was purple so...."Addy Cat" was born.


An odd yet adorable couple

Sunday, January 13, 2013

"Who Lives in a Pineapple Under the Sea?"

SpongeBob Squarepants!
SpongeBob was a special request made by my little cousin, Anthony, who just happened to stop by while I was working on Captain America.  As I showed him the Captain-in-progress, his eyes became wide and he asked,

"Can you make me SpongeBob?"
 
And so I replied, "Yes, I can make you Spongebob."


 The best thing about Nickelodeon, I discovered, is that it plays SpongeBob Squarepants constantly. I simply turned on the television and made a quick sketch of the character.  Then, if I needed some clarification while working, I just turned the television on again and there he was.  Constantly available references.  Could it get more convenient?


I think they would make a pretty sweet rock band, don't you?

Wednesday, January 9, 2013

Crochet Captain America!

Happy New Year!!

The holiday season is finally over, and boy have I been busy. And by busy I mean crafty.  I decided to make several of my relatives' Christmas presents (which they all loved, so YAY!).  The only issue was I couldn't exactly post pictures of them on my blog until after all the gift-giving was done.  Kind of ruins the surprise if they see their gifts on the internet ahead of time, you know?  And so, over the next several posts, I will share with you my many crochet adventures. Let us begin with...

CAPTAIN AMERICA!


When I finished the Hulk, my brother-in-law offered to buy him. My sister enthusiastically requested that I make Captain America. So I decided to be all kinds of sneaky and surprise them both by giving them the heroes for Christmas.


Fighting Crime with Yarn


The Captain took quite a while to make. Not so much the body, mind you, but the detail! I also learned how to crochet a star, so that was pretty cool. Oh, and please excuse my pillow in the different views of the Captain...it's really hard to stand upright when you have nubs for feet. ^_^;